What to Expect During a Roof Replacement (Step-by-Step Guide)
If the thought of replacing your roof feels overwhelming, you’re not alone. For most homeowners, it’s not just a major expense—it’s a major event.
At WeatherTek Home Exteriors, we believe replacing your roof shouldn’t feel like a gamble. That’s why we’ve built our reputation on transparency, professionalism, and exceptional results.
Here’s your step-by-step guide to what actually happens during a roof replacement and how we make it seamless from start to finish.
Step 1: 🕵️ Initial Inspection & Proposal

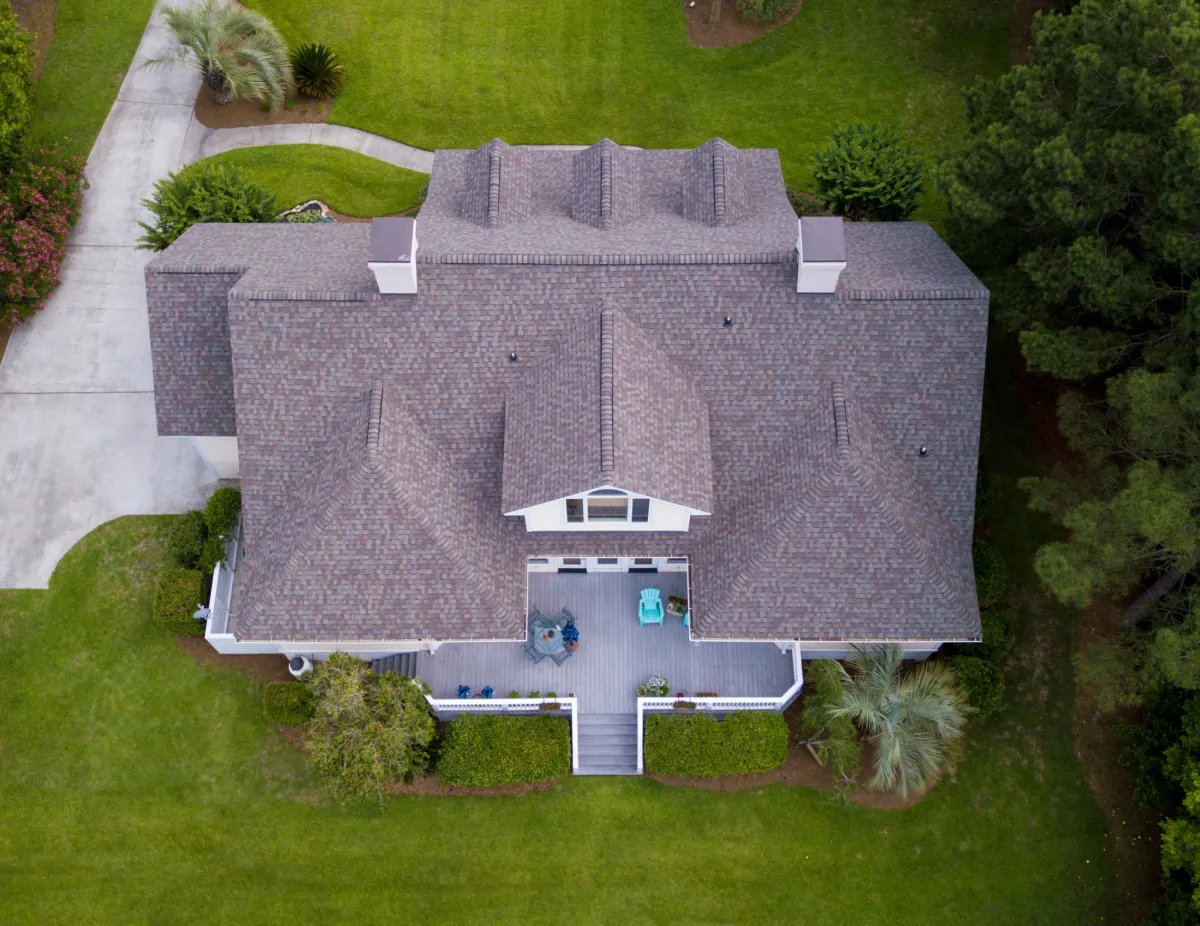
Every project begins with a free, no-pressure inspection using drone imagery, photos, and detailed reporting. We assess:
Shingle condition
Underlayment integrity
Roof ventilation
Flashing, gutters, and ridge lines
Then, we walk you through your customized proposal, including materials, colors, timelines, warranties, and pricing. No surprises. Ever.

Step 2: 📝 Scheduling & Permits
Once you approve the proposal, we will:
Help you pick shingle colors or metal panel finishes
Pull any necessary permits (required by many Maryland counties)
Schedule your install with a dedicated project manager
You’ll receive a prep checklist to get your property ready, like moving vehicles, trimming trees, or covering attic items.
Step 3: 🧹 Tear-Off & Cleanup

On day one, our crew carefully removes all existing roofing materials down to the decking, ensuring a clean foundation for your new roof. Throughout the process, we take extra measures to protect your property — including your landscaping, driveway, and siding — by using durable tarps, catch boards, and other protective barriers.
All old materials are disposed of in a responsible, eco-conscious manner. At the end of each workday, our team conducts a thorough 360° magnetic nail sweep around your home, leaving your property safe, clean, and ready for the next phase of installaion.
Step 4: 🏗️ Installation of New Roof
Once the surface is prepped and inspected, we install:
Ice & water shield
Synthetic underlayment
Drip edge and flashing
New shingles or metal roofing
Ridge vents or fans
We follow strict manufacturer guidelines to ensure your warranty is valid and your roof is built to last.
⏱️ Most WeatherTek jobs are completed in 1–2 days, weather permitting.
Step 5: 🔍 Final Walkthrough & Warranty Registration
After installation, your dedicated project manager will guide you through the final steps to ensure your new roof meets the highest standards. This includes:
Conducting a comprehensive final quality inspection to verify that every detail of the installation meets or exceeds manufacturer specifications and our own strict workmanship standards.
Reviewing a complete set of project photos highlighting all key areas of your roof — including underlayment, flashing, vents, and ridge caps — so you can see the quality of the work performed.
Walking the property with you to answer any questions, point out important details, and ensure you’re fully satisfied with both the craftsmanship and the cleanup.
Registering your manufacturer warranty on your behalf, so your investment is protected without you having to lift a finger.

We also offer optional annual roof checkups, especially helpful for homeowners with tree cover or storm exposure.
Why Homeowners Trust WeatherTek?

✔️ Licensed, insured, and locally owned
✔️ Premium Owens Corning & metal roofing systems
✔️ Drone inspections & digital quotes
✔️ Transparent, no-pressure sales
✔️ Flexible financing & 15% referral program for realtors
When it’s time for a roof replacement, you deserve a contractor who respects your time, budget, and home. That’s the WeatherTek way.
Schedule Your Free Inspection Today
Thinking about replacing your roof? Let our pros take the guesswork out of the process.
📞 Call us at [443-332-3035] or 📅 Click here to book your free estimate today
We'll guide you every step of the way—and leave your home looking better than ever.
